Recognitions Block
Note: For the APIs used to create this block, see Create a Custom User Experience.
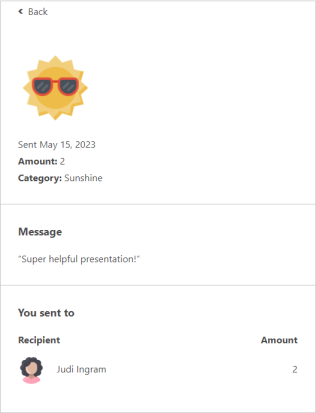
Use the Recognitions block to celebrate successes, reward performance, and show appreciation for great work. This block displays an interface where participants can recognize one another and view the recognitions they've sent and received. Depending on your recognition setup, you can allow everyone to give recognition, everyone to receive recognition, or designate who can give and who can receive.
The block dynamically hides the Sent tab and Send button if the user is not eligible to send a recognition.
Name and Image Preferences
In large programs, you may want to use the additionalName preference to add a preferred name or other identifier to differentiate between users with the same or similar names. The additional name displays in the recipients search field and other areas within the block.
If a user does not have an image set, you can show the user's level or initials in the Recognitions block. See Site Preferences for details.
|
|
|
Configure a Block
- Configure recognition for your program.
- Open Nitro Studio > Integrate > Blocks.
- Click New > Recognitions.
- Use the header bar to edit the block's name. The name does not need to be unique.
- Use the General drawer to set the block's height and width.
- Use the Settings drawer to define the data
 that displays in the block.
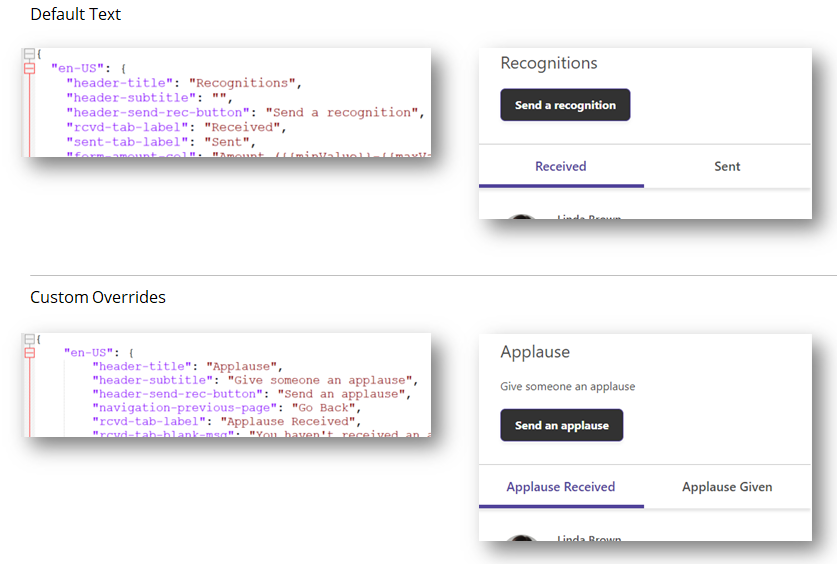
- Use the Text drawer to change the title, subtitle, and tab names
 in the block.
- Use the Languages drawer to localize or customize the text
 in the block.
- Click Save (
 ).
).
 If you're editing an existing block, changes are pushed to any site where the block is embedded.
Embed the Block
After you've configured your block, you can embed it on your site. Once embedded, any updates made to the block in Nitro Studio will automatically be pushed to the site with no additional code changes required.
See Embed a Block for step-by-step instructions.
See also


